
Yes, its that time of year already when I am surrounded by boxes and a never shortening ‘to-do’ list! This weekend will be the MCM Expo & Comic-con at London Excel, from 26th-28th May, where I have a small booth in the dealer's zone in the North Hall. A lot of people tell me they get lost, the secret is to look at the big section numbers on the wall of Excel itself, we are in section N4 which is the section where the cloakroom stairs are, towards the back of the hall. I’ve attached a map at the end, look for us at BF2.

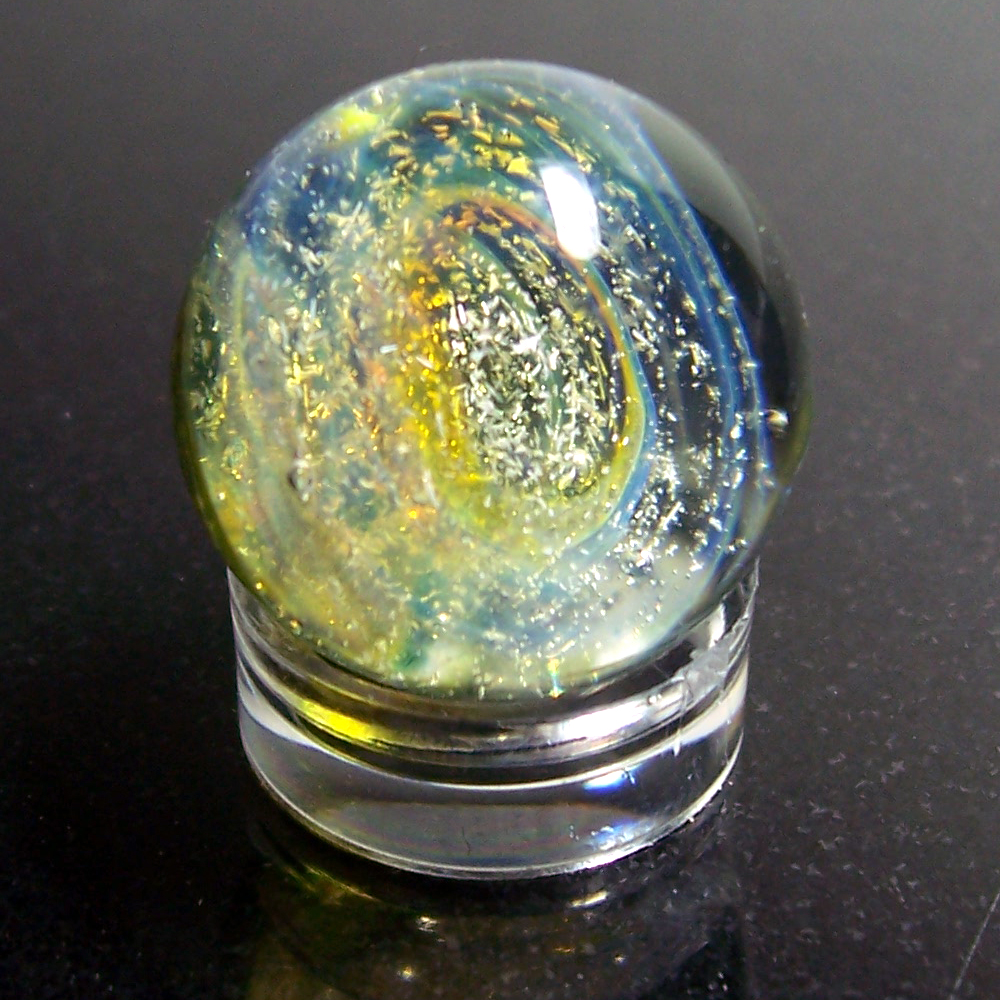
Just because we don’t have a huge stall doesn’t mean I haven’t packed it with as much as possible! I’ve lots of new marbles, pens, pendants, aliens, earrings, plus some brand new designs seeing their first outing at the stall. Look out for a new display box with a weird blue glow coming from it, inside a new range of VERY glowy pendants and earrings, all containing some high grade glow-in-the-dark pigment which the makers assure me can glow up to 12-20 hours after being charged with light! That’s not all, I’ve also a range of glass that only shows its colours when lit by UV blacklights, so ideal for clubs and festivals too, plus lots of other new designs, as well some new big wooden boxes and a show special on ‘B’ movie cushions too.
For those of you not coming to Excel who like to come to the London stall I have further good news for you. As some of you may know I’ve been struggling with time issues, finding it hard to be at Covent Garden and have enough time to make glass. I’ve finally got some help with two helpers who are covering the long hours on the stall. I’m still trying out days but at present this means the stall is open on Tuesdays, Wednesdays, Thursdays AND Saturdays! Please do pop along and say hi to Ellie and Pip who will have the same high quality glass pendants, pens and earrings, but without my ugly mug to scare you away! One of the advantages of the extra time this will give me is time to create new designs, and some of you may have already seen some of the new mega-sized pendants I’ve been creating for the stall as just one example of some of the new items I hope to introduce over the coming months.
As you can see there has been a lot happening here behind the scenes, and this is just the beginning. I’m planning to increase the selection and variety of glass available in my Etsy shop too, so please keep an eye on my shop and Facebook page over the coming months for sneak previews of new designs as well. The Etsy shop is now closed for a few days though so I can concentrate on getting organized for the weekend.
I hope I get to see lots of you at Excel this weekend, right now for me it’s back to melting glass and packing boxes!
All the best
Glenn


